Moving From WordPress.com to Self-Hosted WordPress

You’ve had your own blog on WordPress.com for some time, but you’re ready for more control. Or perhaps you’ve had a business site there but want to push beyond the limitations of WordPress.com, so you can install your choice of plugins or custom themes.
How do you go from WordPress.com to a WordPress site on your own hosting?
It’s not difficult, but you’ll want to prepare for any snags. In this article, I’ll go through the basic process, and then describe some of the errors you could encounter, along with ways to get around them.
First, make sure your new hosting is set up and running properly. When you type “www.yourdomain.com” or “yourdomain.com”, you should be able to pull up your new site. Meanwhile, if you’re hosting with GoDaddy, Hostgator, Bluehost, or another major provider, you’ll be provided an on-board installer that’ll allow you to install WordPress with a minimum of fuss. Just log in to your hosting control panel and find the WordPress installer.
Here’s how the cPanel version looks on Hostgator’s Web hosting:
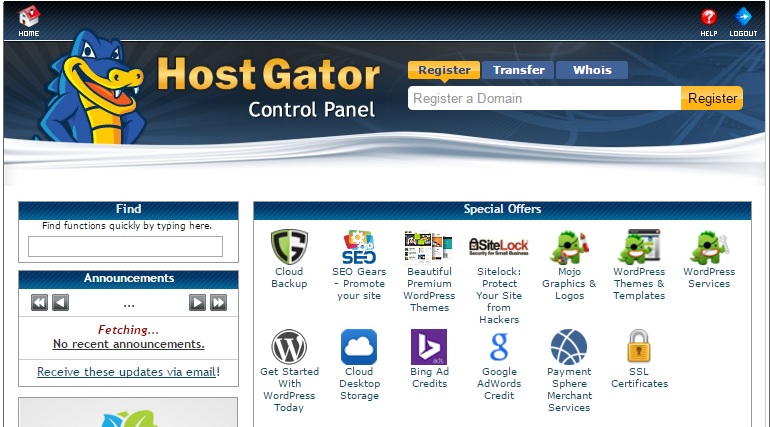
And here’s what you’ll see when you click on the “Get Started With WordPress Today” icon:
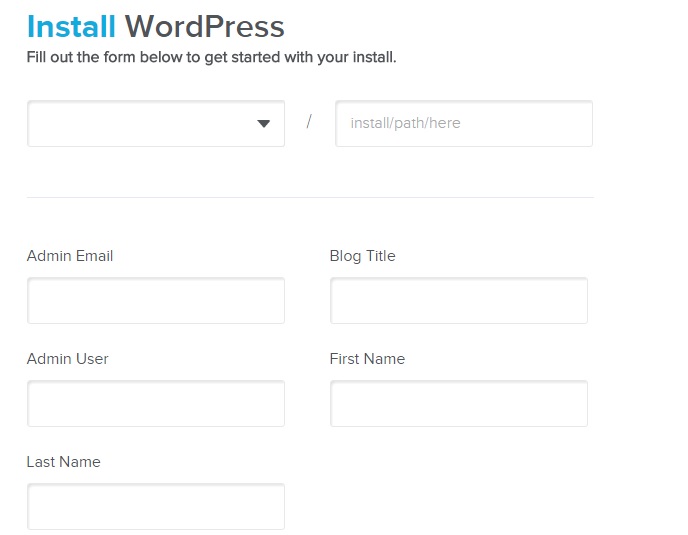
Fill in all required fields. Once WordPress is installed, you’ll see your login info at the top of the screen. It will also be sent to you in an email. Using your username and auto-generated password, log in to your self-hosted WordPress installation (use www.yourdomain.com/wp-admin) and change a few settings:
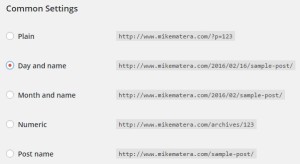 Go to Settings >> Permalinks and set your permalinks to day-and-name if you want your posts to have the exact relative URLs as they’ve had on WordPress.com. This step will be important if you have WordPress.com redirect your old pages to their counterparts on your new site.
- Go to Appearance >> Themes and try to locate, install, and activate the same theme you’re using on WordPress.com. You can always change your theme later, but for best results, you’ll probably want to import your site as it appears on WordPress.com, and that means going with the theme you last used on your WordPress.com blog.
- Go to Plugins >> Add New and find the Jetpack plugin. You’ll need to install, activate, and configure it in order to allow features from your WordPress.com site to transfer over to your self-hosted one. That’s especially important if you want to migrate existing subscribers from WordPress.com to your self-hosted site. To configure Jetpack properly, you’ll need to connect it to your existing WordPress.com account.And no, this isn’t a step backward. Even if you delete your WordPress.com site, the plugin will still work on however many self-hosted WordPress installations you connect it to – as long as you keep your WordPress.com account active (even if you don’t have any sites running on it). You’ll need Jetpack to view statistics, among other things. For more info on how to configure Jetpack, click here.
- From your WordPress.com site’s admin dashboard, go to Tools >> Export to export all your posts and content into an XML file. You’ll be greeted with two options. Choose the free one:
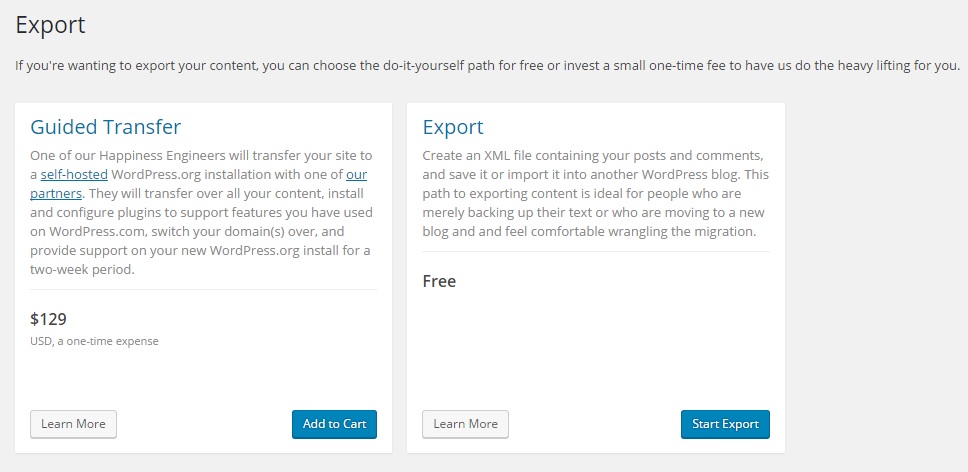
Once you click “Start Export”, you’ll be prompted to download an XML file. After you’ve saved it to disk, tab over to your new self-hosted WordPress installation and choose “Tools >> Import” from the left-hand side of the admin dashboard. You’ll be prompted to download the WordPress Importer plugin once you specify that you’re importing from WordPress.
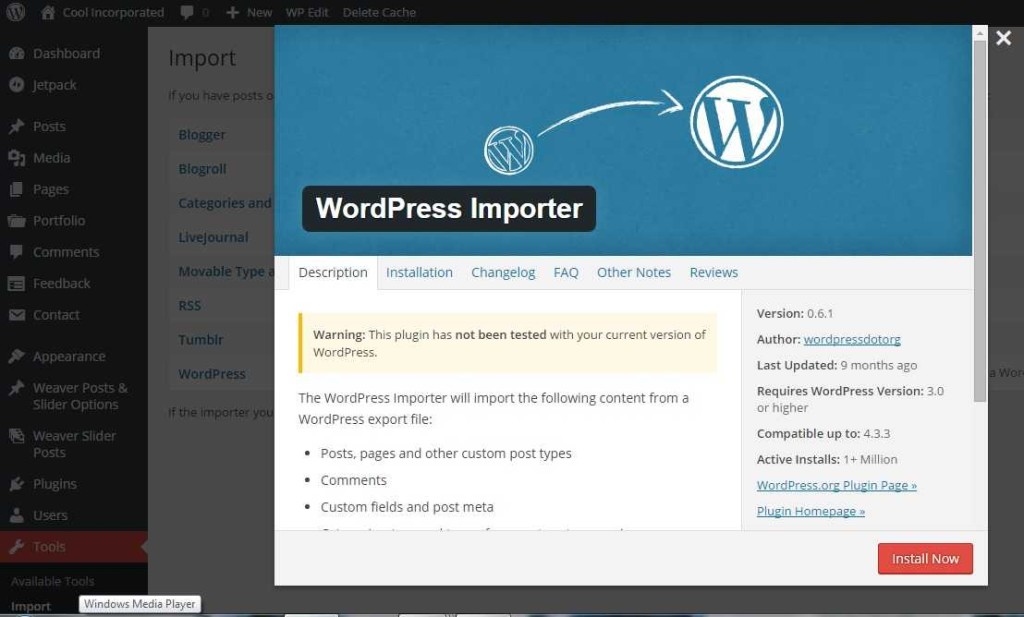
5. With the Importer plugin installed and activated on your self-hosted WordPress installation, import the XML file you downloaded from your WordPress.com site into your self-hosted WordPress installation. When you’re prompted for what files you want to include, check everything (e.g., posts, pages, and media files). You’ll also be prompted to import any users, with an option to assign all posts to the current administrator on your new self-hosted WordPress installation.If you don’t import any user(s), all content will be assigned to your new admin username, so no worries if you forget to import users (unless your blog has had multiple contributors whom you want to keep separate).
What Could Possibly Go Wrong?
If you’re importing a very large site or have many media files, you may receive error messages, such as server timeouts or 501 errors. If you do, go back to and refresh your new site’s WordPress admin dashboard. See whether the post, page, or comment counts have increased. Also, see whether the photos, videos, and other media have made it to your media library (navigate to Media >> Library).
You may find that with each abortive attempt to import, more of the content makes it to your new site, despite the error messages. If so, just keep running the import process, as described in Step 5. Any time you get an error, refresh the dashboard and see whether more content has made it to your new WordPress installation. Lather, rinse, repeat.
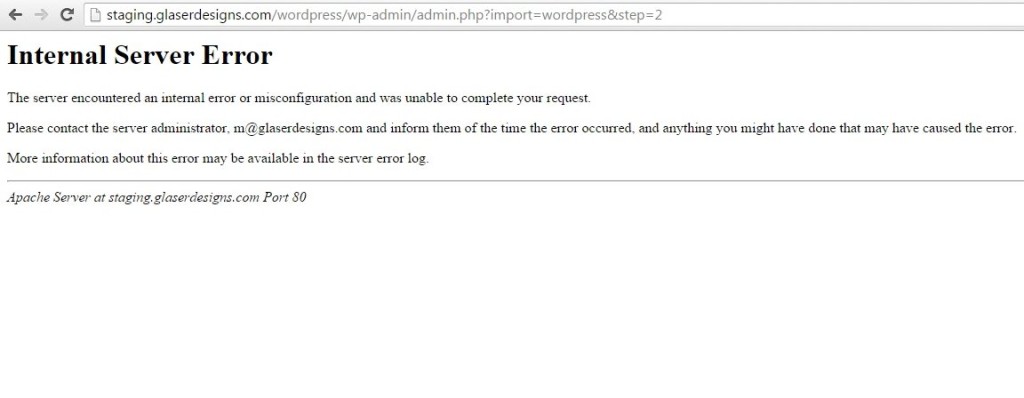
If you do receive error messages as described in Step 5, and have run the importer several times, then try running it once or twice without importing files and attachments (leave that box unchecked). That should complete the process.
But If You Still Have Problems Importing All Content…
…just be patient and keep repeating the import process, despite any server errors. When all your content appears to be imported, you may still need to manually upload and reset some graphics, such as featured images for posts or for your site’s header. There are a number of things that won’t import smoothly from WordPress.com, including theme settings and menus, so keep your old site running as you do a thorough comparison of the two.
If you still can’t import all your content, contact your hosting provider and explain that you are trying to import a site from WordPress.com. Tell tech support that you need to at least temporarily increase your file upload limits.
Leave No Stone Unturned.
Double-check to ensure that all content has been imported to your new WordPress installation. You may need to assign menus to theme locations, tweak widgets, and adjust some customization settings.
Finishing Touches
If your site has been up a long time and has been indexed in search engines or has outside links pointing to it, your next step is to purchase site redirection from Automattic. That way, any pages or content previously indexed by search engines will continue to provide useful search results rather than 404 (file not found) errors. Domain redirection will do what its name suggests; anyone clicking on a page or file from your old WordPress.com site will be automatically redirected to its counterpart your new site (or to your new home page, if a match can’t be found). It’s useful not only for keeping your current search-engine rankings but also for keeping links to your old site in working order.
Site redirection costs $13 and is a simple process. Just make sure you don’t confuse it with any other Automattic service, such as domain mapping, which also costs $13 but is the opposite of what you want (domain mapping allows you to move your own domain to your WordPress.com site).
Here’s the site redirection link again (please click here).
If you don’t wish to redirect your old site to your new one, then make sure to adjust your old site’s settings, changing its status to “Private”. That way, you won’t have two sites, which may not only confuse potential visitors but could also get your site delisted by search engines.
That should about do it. If all works accordingly, you’ll soon discover why people like yourself decide to move their WordPress sites to their own hosting, and enjoy significantly more freedom with regard to customization, themes, and plugins. However, if you still encounter roadblocks, feel free to comment on them below. I’ll do my best to set your ship on the proper course.

One Comment